I thought at first that I would accomplish this project by printing some minions out, and gluing them to yellow chevron craft paper in gray frames, which plays on the colors and patterns in my sister's nursery decor.
Problem 1: Right now the colored ink is out on my printer (I know, I know- easy fix..buttt)
Problem 2: How to cut the little tiny hairs out without lots of annoyance.
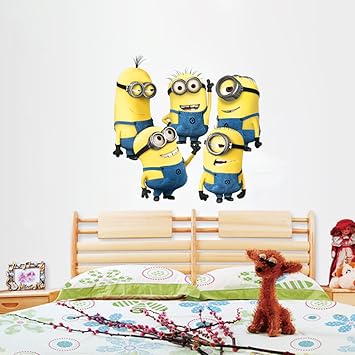
Solution: Minion decals from Amazon. I bought some that look like this:
I then went out thrifting, and found slightly different frames, all of the same size, and purchased some gray spray paint at Lowe's.

I sanded the frames a little, so they'd take the paint better, and had my handsome husband put three coats on them:

I went to Joann's on a related mission, and picked up some craft paper to form the backgrounds, and assembled all of my supplies:

So, we adapted. I had my husband use our paper cutter to cut the paper down to our frame size, and then laid the minions on the paper, trimming off excess overhanging bits of minion.
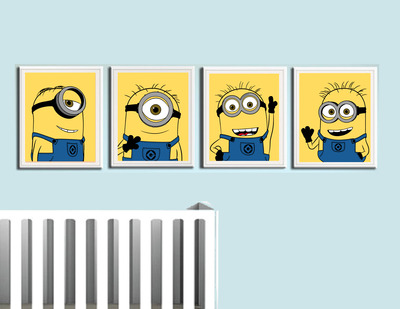
Here's the final product:

As you can see, I just used the white backing of the craft paper. Still looks sharp, and avoids my original problem of trying to put these on a white backing and then cutting them out and gluing them to a new backing.
Bonus: I have an extra minion decal to give to my sister-- or the opportunity to add another project in, to make use of the bonus decal!
Total time spent: 26 hours (2 active hours, 24 drying hours).
Total cost: 4 frames at $2.40 each + 1 can of spray paint ($2.75) + minion decals ($13.50- free to me though via a free amazon gift card) + craft paper, 4 pieces at $.99 each= $29.81 or $16.31 cost to me.
Now granted, this is slightly more in cost than purchasing these prints would be, but they are custom to my sister's nursery colors, and like I said- if you have patient hands, you could cut down the minion cost by printing them yourself.
As always, happy crafting,
Jenn


